Set Scale
This guide explains how scale is assigned in Roof Layout Studio after the source file is prepared.
Why scale matters
Scale connects the visible distance on the source image to the real-world distance of the roof plan.
Without a correct scale:
- measurements are not reliable
- calculated values are not reliable
- report output may not match the real project dimensions
When scale setup appears
After the source file is uploaded and the work area is confirmed, the application opens Set Image Scale.
This is the normal next step before detailed tracing begins.
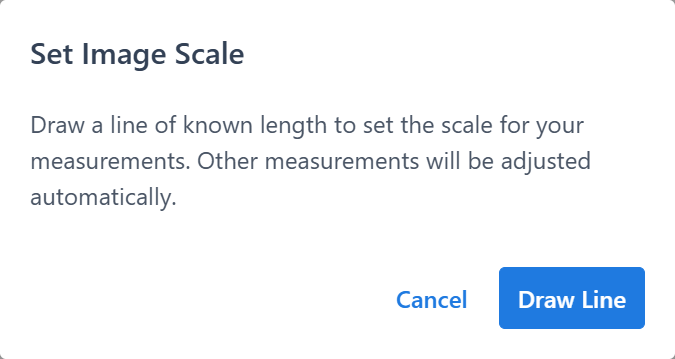
Step 1. The Set Image Scale dialog
After the source file and work area are confirmed, the Set Image Scale dialog opens automatically.
The first modal explains that scale is assigned by drawing a line with a known real length.
Choose a reference distance that represents a real measured value you know.
Recommendation
Choose a reference distance that:
- is easy to identify on the source
- is straight
- is long enough to reduce error
Step 2. Reference line drawing
The Draw Line action starts reference line placement on the source image. The line should be drawn between two points that represent a known real distance.
Important
Place both points carefully, because this step directly affects the accuracy of later measurements.
Step 3. Entering the real length
After the line is drawn, a second Set Image Scale modal opens and asks for the real length of that line.
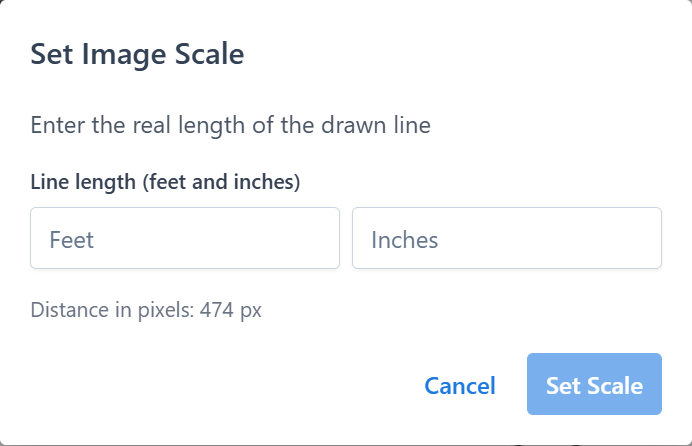
The available input fields depend on the current measurement system:
- imperial: feet and inches
- metric: meters and centimeters
Once the value is confirmed, the scale is assigned to the project.
What happens after scale is set
After scale is assigned:
- measurements use the new scale
- the project is ready for accurate geometry work
- you can continue tracing edges and facets
What happens if you cancel
If you cancel scale setup, the project can still remain open, but the scale stays unset.
In that case, a warning appears in the upper-left area of the editor to show that scale is missing.
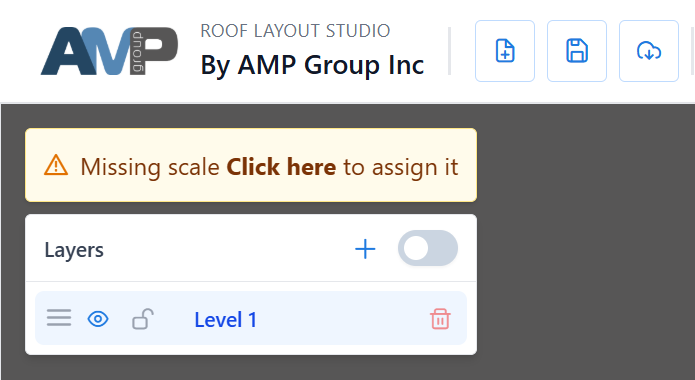
You can return to scale setup later by:
- clicking the missing-scale warning
- resetting and reopening scale from
Draw Tools
Reset scale later
If scale needs to be changed, open Draw Tools and use Reset scale.
The application asks for confirmation, then clears the current scale and opens the scale setup flow again.
Use this when:
- the first reference line was inaccurate
- the wrong real length was entered
- the project source changed and the old scale is no longer valid
Best practices
- Use a reference line with a known, trustworthy real dimension.
- Prefer a longer reference distance over a very short one.
- Place both points carefully on visible source features.
- Recheck scale before doing a large amount of tracing work.
Common issues
The warning says scale is missing
Scale has not been assigned yet, or it was cleared. Open scale setup again and complete the reference line workflow.
Measurements do not look right
Reset the scale and repeat the setup using a better reference line or a verified real-world dimension.
I skipped scale and started drawing
You can still return and assign scale later, but it is better to do it before relying on measurements or reports.
Related guide
See also: Create a Project