Project Information
Project Information stores metadata about the project — what appears in the report header and in the saved projects list.
When to fill it in
Fill project information early, right after creating the project. Three of the four fields are required before you can generate the report.
The data appears in:
- the Open project list (job name, address)
- the generated PDF report header
- email messages when sending the report
Open the Project Information modal
Click the info-circle icon in the toolbar.
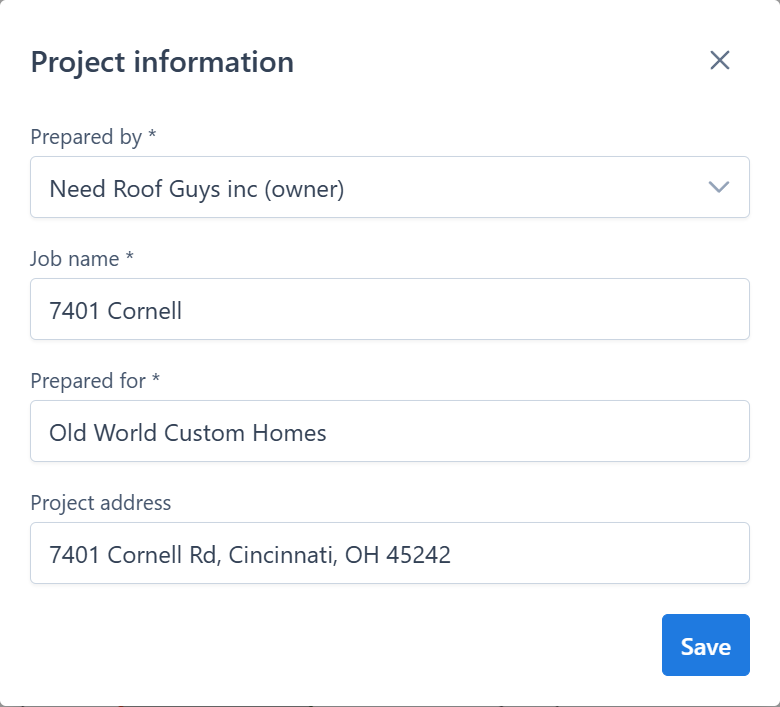
Fields
Prepared by *
Required. A dropdown where you select the preparer from a list populated by your account. Appears in the report header as "Prepared by ...".
Job name *
Required. A short, unique name for the project. Used in the project list, report title, and email subject.
Examples: 123 Main St — Smith, Office Warehouse 2026, North Addition.
Prepared for *
Required. Name of the client or recipient the report is prepared for — usually a person, company, or insurance contact.
Project address
Optional. The property address. Appears in the report and the project list. Include city and postal code for clarity.
INFO
Fields marked with * are required before you can generate the report. If any of them is empty, the Report Wizard will open this modal first and ask you to fill them in.
Saving
Click Save in the modal to apply. Fields are stored in the project and saved to the server.
Tips
- Use a consistent naming scheme for
Job name— address first, client last (e.g.,123 Main St — Smith) keeps the project list sorted intuitively. - Enter the address even if it feels optional — it helps future search and report clarity.
- Prepared by is chosen from a list tied to your account. If your name isn't there, contact your administrator to add it.