Draw Edges
This workflow explains how to trace a roof plan by drawing edges in the Draw panel. Read Edges and facets first if you haven't already.
Before you start
Make sure:
- the project has a source image loaded
- the scale is set (see Set Scale)
- the correct layer is active in the Layers panel (usually
Level 1for the main structure)
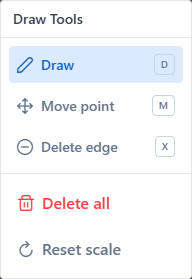
Enter Draw mode
Open the Draw panel (click the pencil icon at the top right). Inside the panel, pick Draw edge — the hotkey D activates this sub-mode directly.
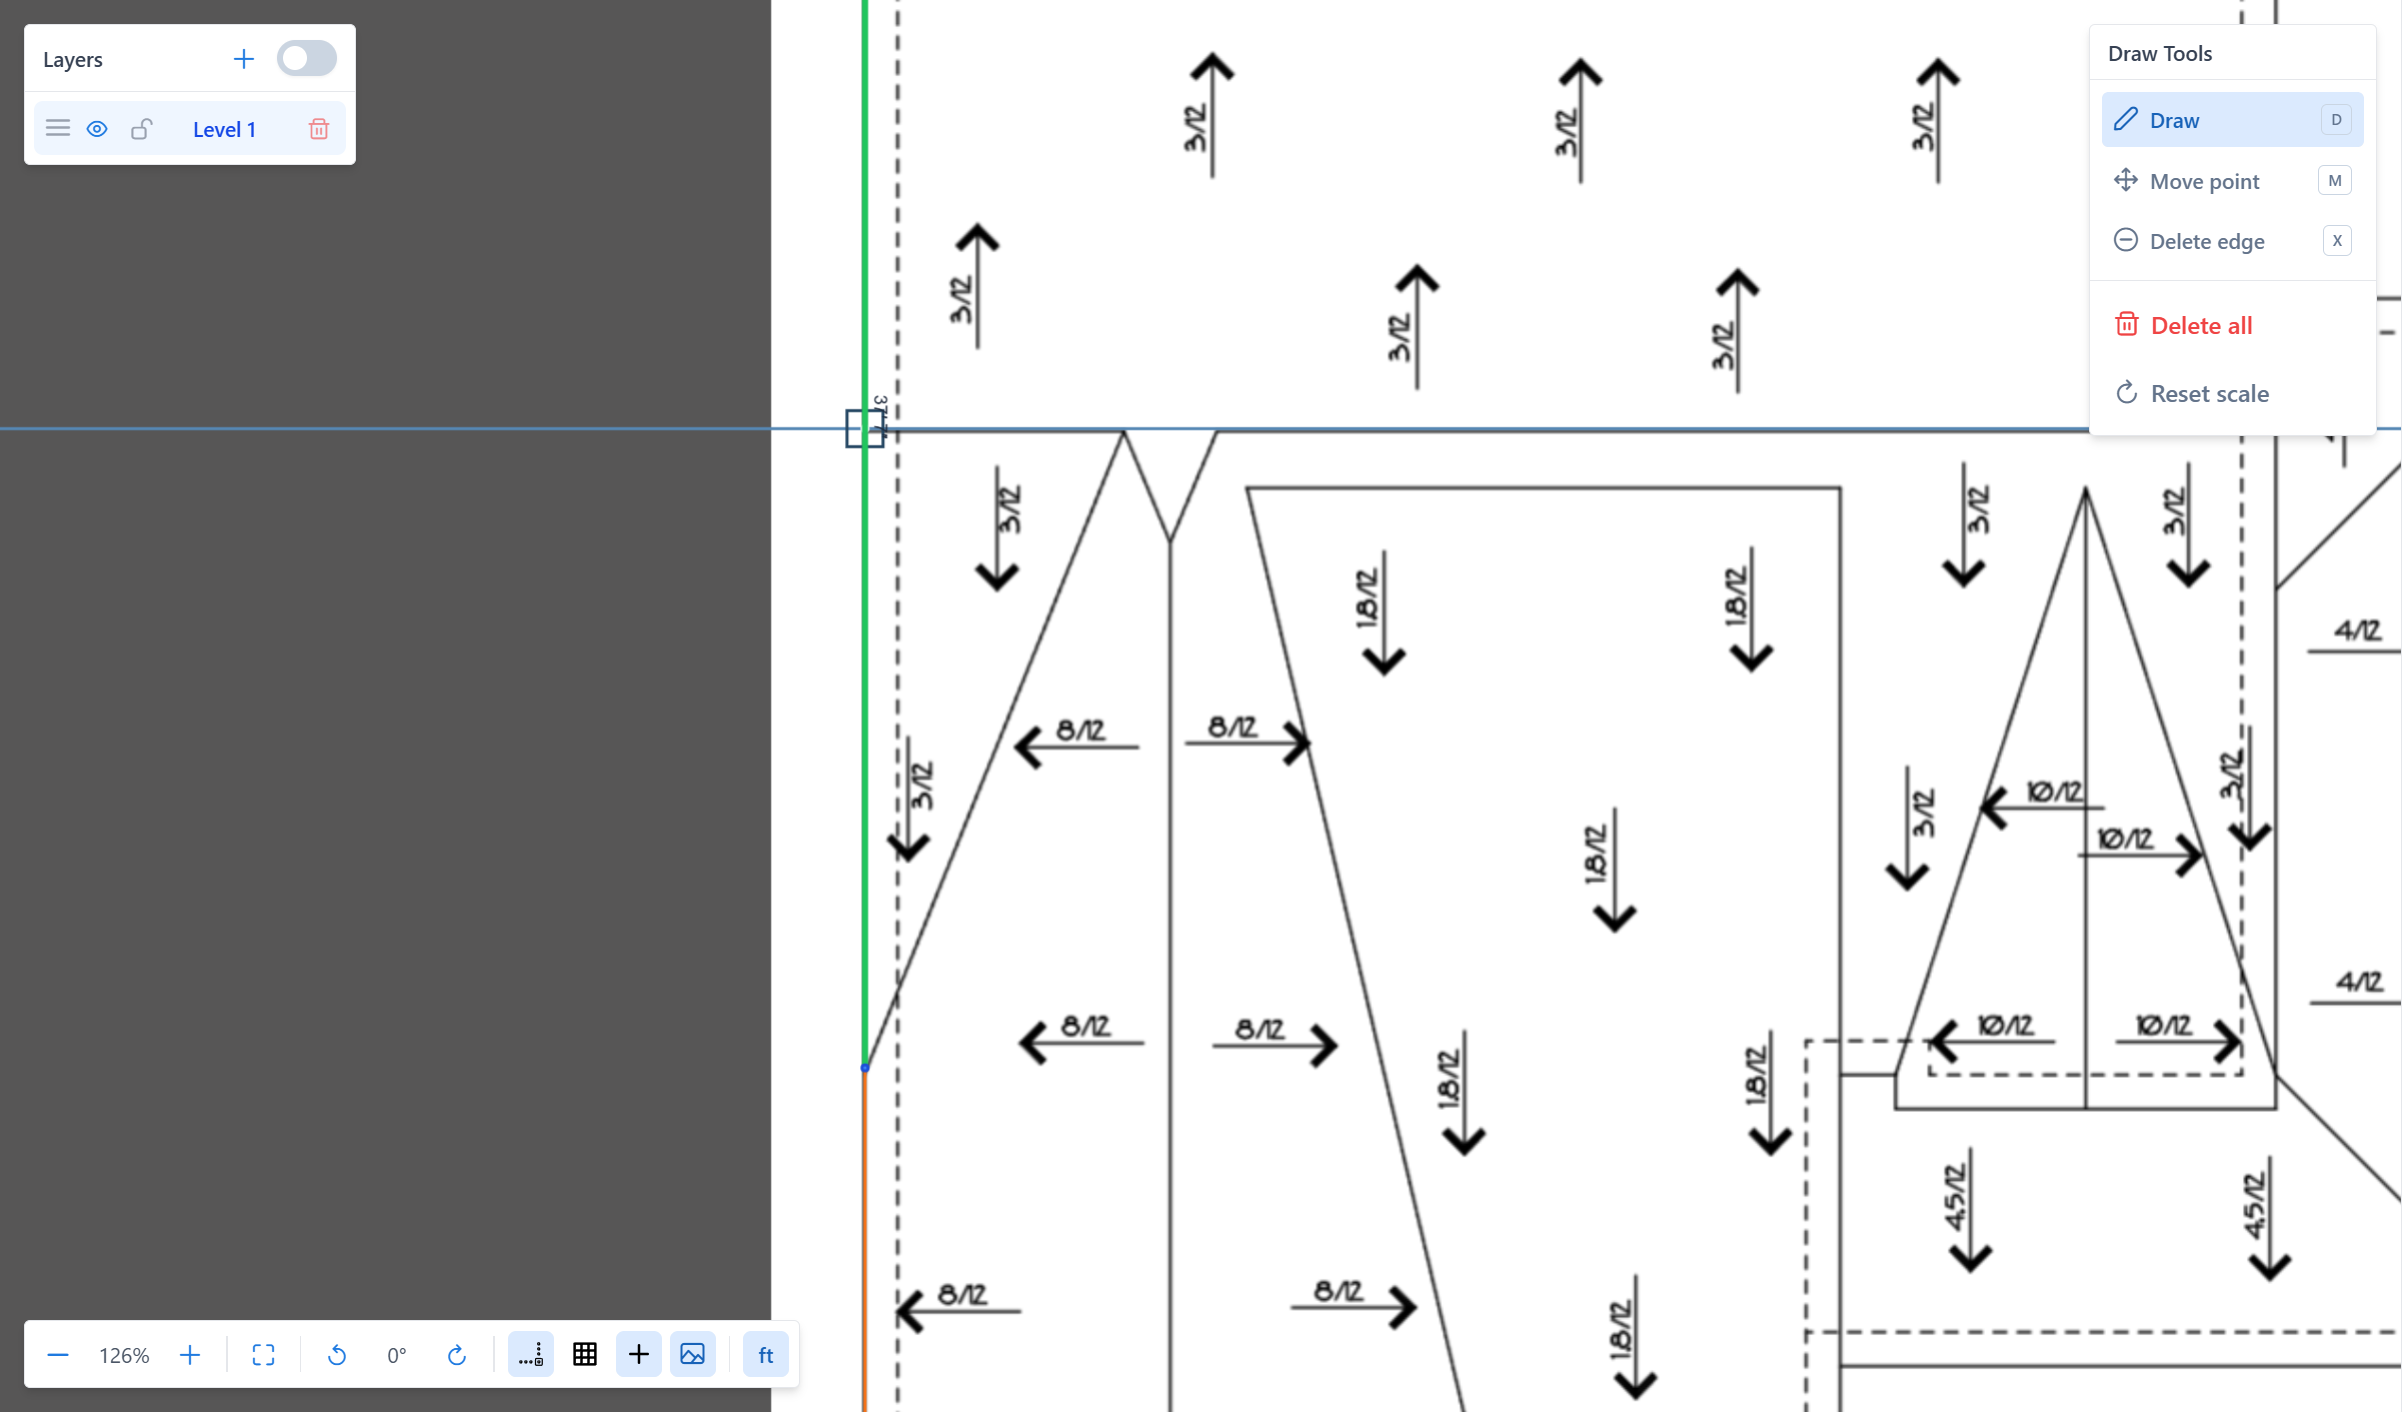
Place the first point
Move the cursor over the canvas. A crosshair appears. Click once to place the first node.
The first click starts a chain — a connected sequence of edges. Each following click adds one more edge that continues from the previous point.
Continue the chain
Each subsequent click:
- creates a new node at that position
- draws an edge between the previous node and the new one
- continues the chain from the new node
Close a polygon
To close a shape, bring the cursor back to the first node of the chain. The snap system highlights it. Click to connect — the polygon closes.
Recommendation
Watch for the green snap highlight on the target node before clicking. If the snap doesn't land, you will create a new node nearby instead of closing the loop.
First-time note
A closed loop does not render as a facet until you open the Facets panel at least once for this layer. After the first open, auto-detection stays on and every future closed loop becomes a facet immediately. See Edges and facets for details.
Snap behavior
While drawing, the cursor snaps to help place points precisely:
- To a chain node — closes the polygon on the starting point
- To any other node (any layer) — creates a shared vertex or a cross-layer attachment
- To an existing edge — inserts a new node on that edge (splits the edge in two)
- To vertical / horizontal guides — aligns with the X or Y of another node on screen
If the cursor is close to an existing edge or a vertex-aligned axis, the line to potentially snap to will be highlighted in green.
Finish a chain without closing
You don't have to close every chain. To finish an open chain, click again on the last placed node — the chain ends. The next click on empty canvas starts a fresh chain.
You can also right-click anywhere on the canvas to cancel the current chain.
Move a point
If a node is slightly off, switch to Move point (M) and drag the node to its correct position. All connected edges follow.
What happens when you drop the node
- On empty canvas — the node moves to the drop position, connected edges follow.
- On an existing edge — the edge is split at the drop point. The dragged node becomes the new node that divides the edge in two. Useful for "attaching" a stray node onto a nearby edge.
- On another node of the same layer — the two nodes are merged into one. Connected edges are reassigned to the remaining node; duplicate edges and loops are removed automatically. Useful for cleaning up accidental duplicates.
- On a node of another layer — the node is simply moved to that position (same coordinates as the target), but the two nodes stay separate — this preserves layer independence. To create a shared vertex across layers, use the snap during
Draw edgeinstead.
Delete an edge
Switch to Delete edge (X) and click any edge to remove it. If either endpoint node of the deleted edge is not used by any other edge (becomes orphan), it is removed automatically along with the edge.
Important
Deleting an edge may remove a facet if it was part of the closed loop. If the facet disappears unexpectedly, re-add the missing edge.
Delete all edges on a layer
The Delete all edges action in the Draw panel clears every edge on the current layer. A confirmation dialog appears.
Use this if you want to restart tracing on a layer without starting a new project.
Tips for fast, accurate tracing
- Zoom in before placing points on detailed areas.
- Pan with left-mouse drag on empty canvas to move the view without switching tools.
- Use guides to keep edges straight and axis-aligned.
- Trace the outline of the roof first, then add internal ridges and valleys.
- Classify edges as you go only if you're experienced — otherwise finish the geometry first, then classify.
Common issues
The cursor won't snap to an existing vertex
The vertex may be outside the snap radius. Zoom in so the target node is within visible range.
A facet I expect isn't appearing
- Open the Facets panel once — facet detection is off until you do this for the current layer.
- Check each edge of its boundary. A common cause is a tiny gap between two edges that look connected but are not snapped to the same node.
- Confirm all boundary edges belong to the same layer.
Cross-layer snap doesn't create the duplicate I expected
The snap target must be a real node (not just a guide intersection). Move the cursor closer to the target node until the green snap highlight appears.
What to read next
- Classify edges — assign types to the edges you drew
- Set pitch — add slope to the facets
- Work with layers — multi-level roofs