Create a Project
This guide explains how to start a new project in Roof Layout Studio from a PDF plan or an image, define the useful work area, and continue to scale setup.
Open the project creation flow
Use the new project action in the top toolbar to start a new project.
If another project is already open, confirm that you want to reset the current workspace before continuing.
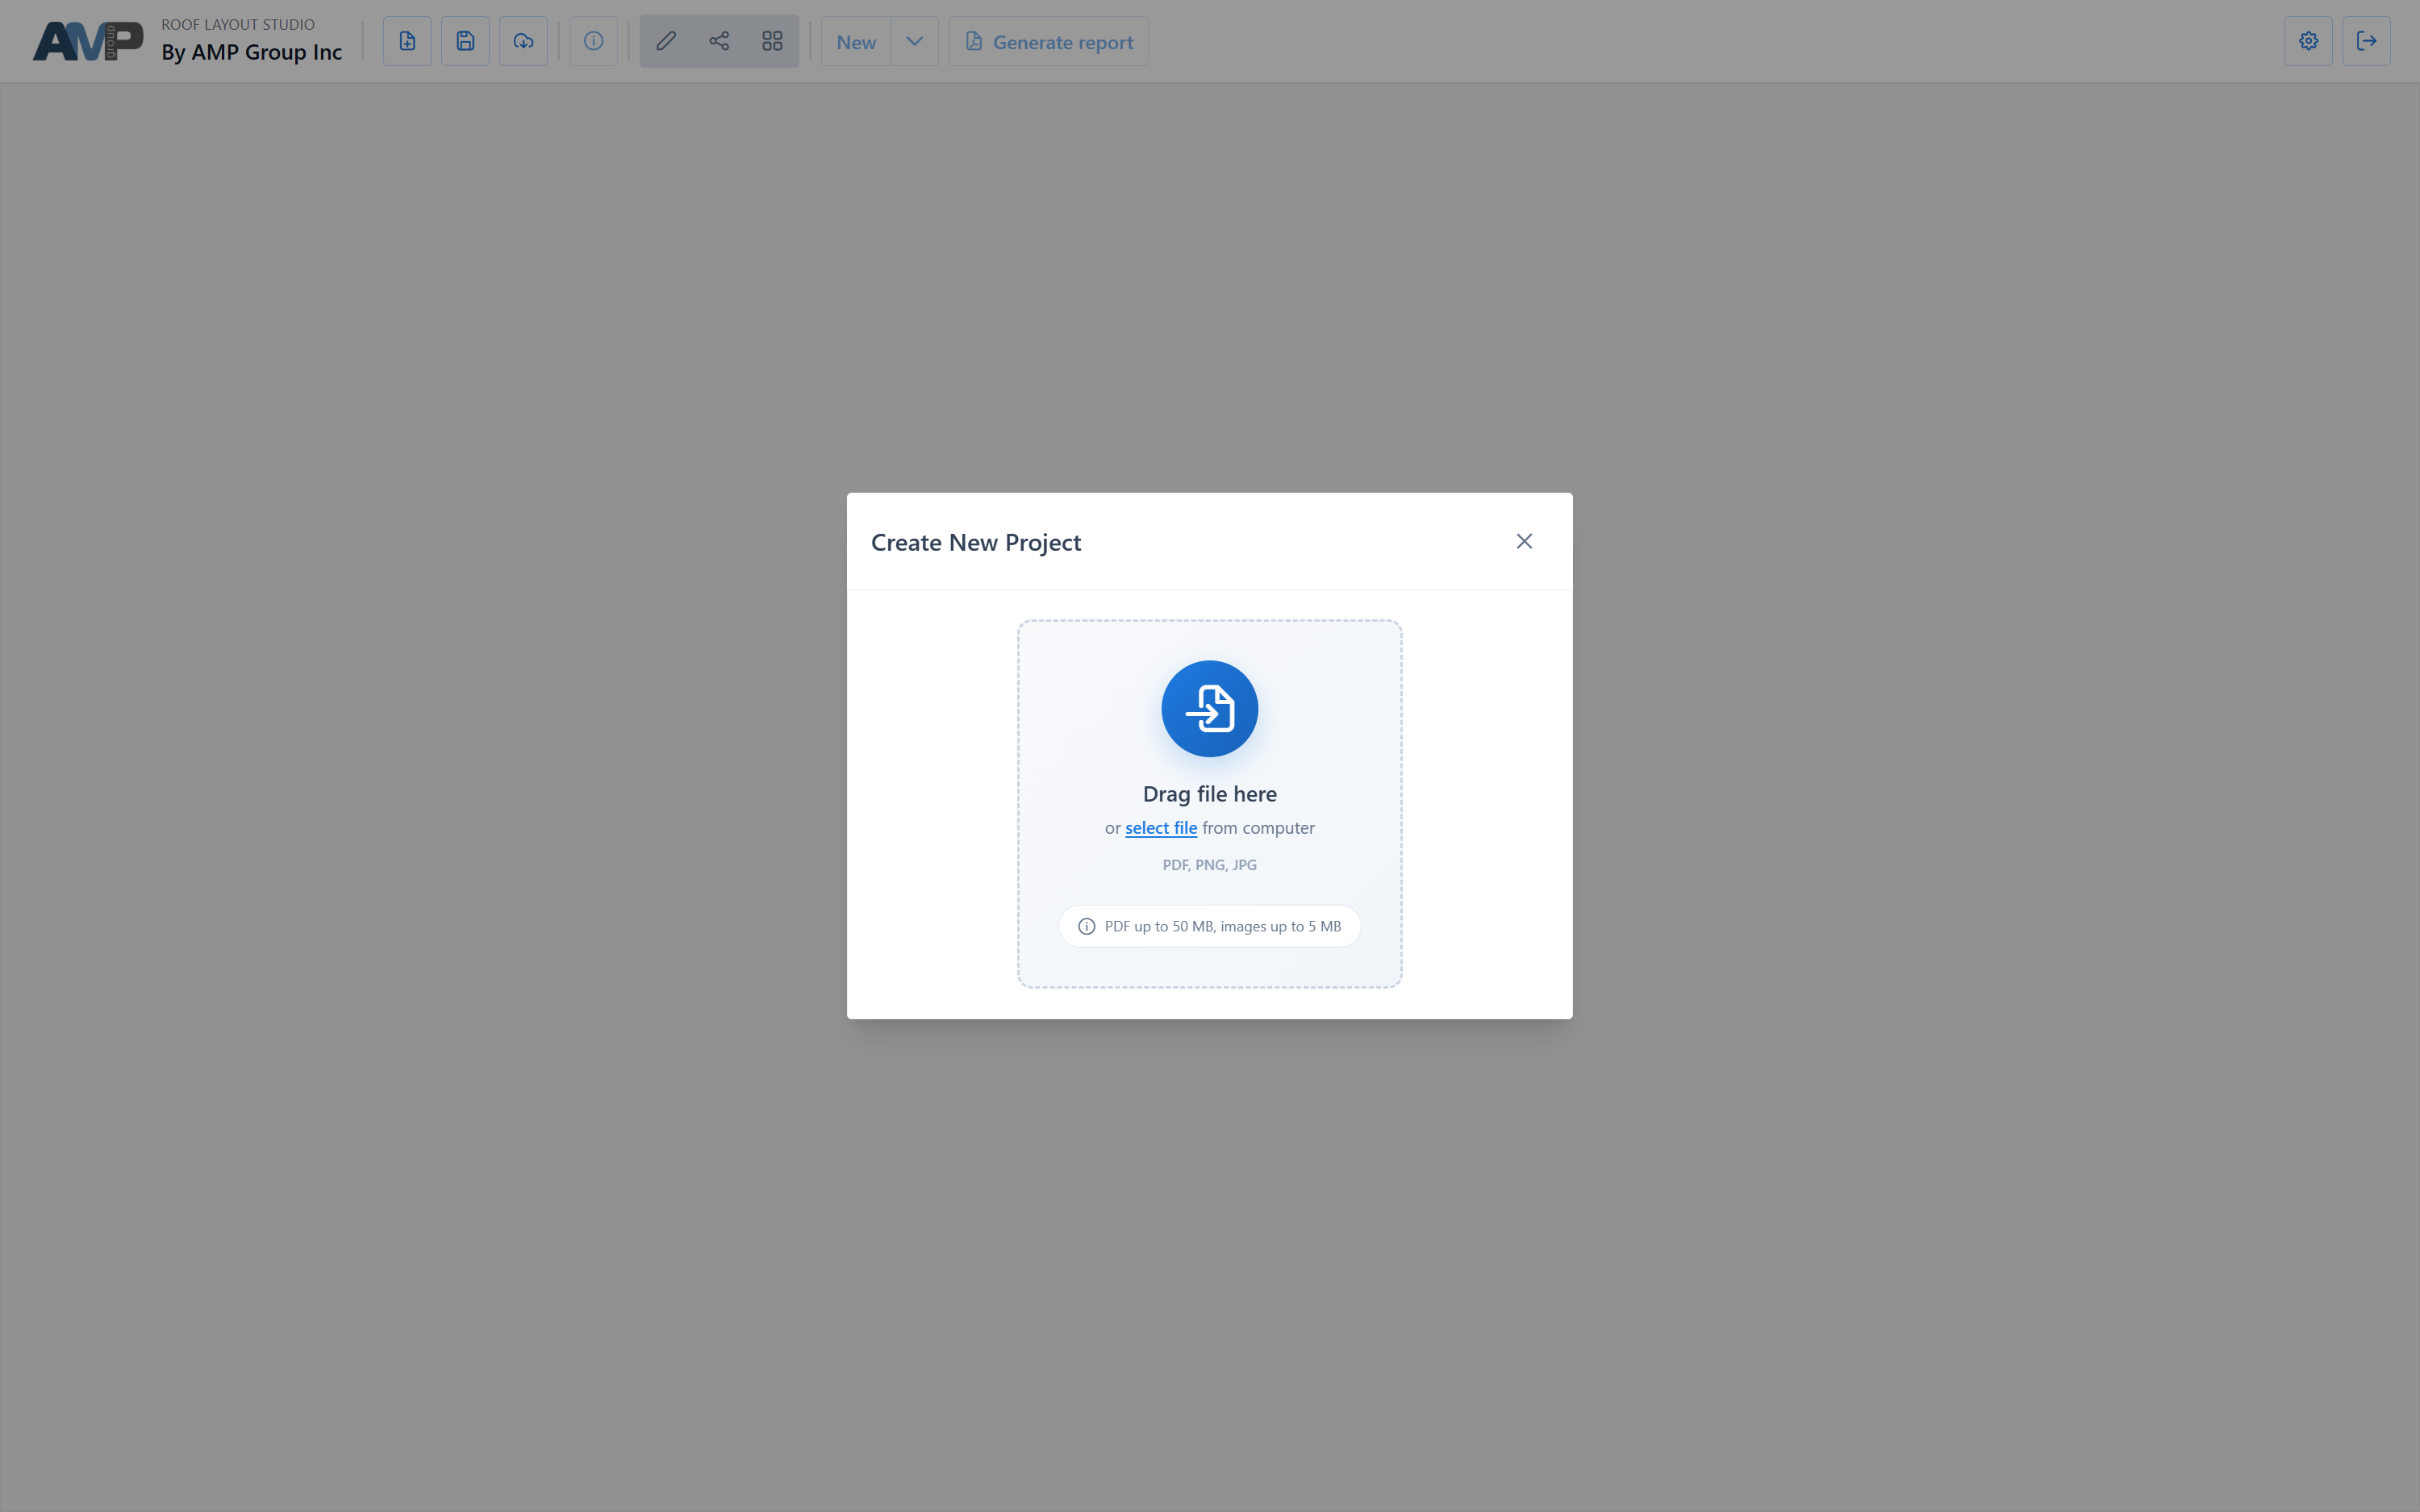
Choose the source file
You can create a project from:
- a PDF plan
- a PNG or JPG image
Use the cleanest source available. The easier it is to read the roof shape, the easier it will be to trace edges and facets later.
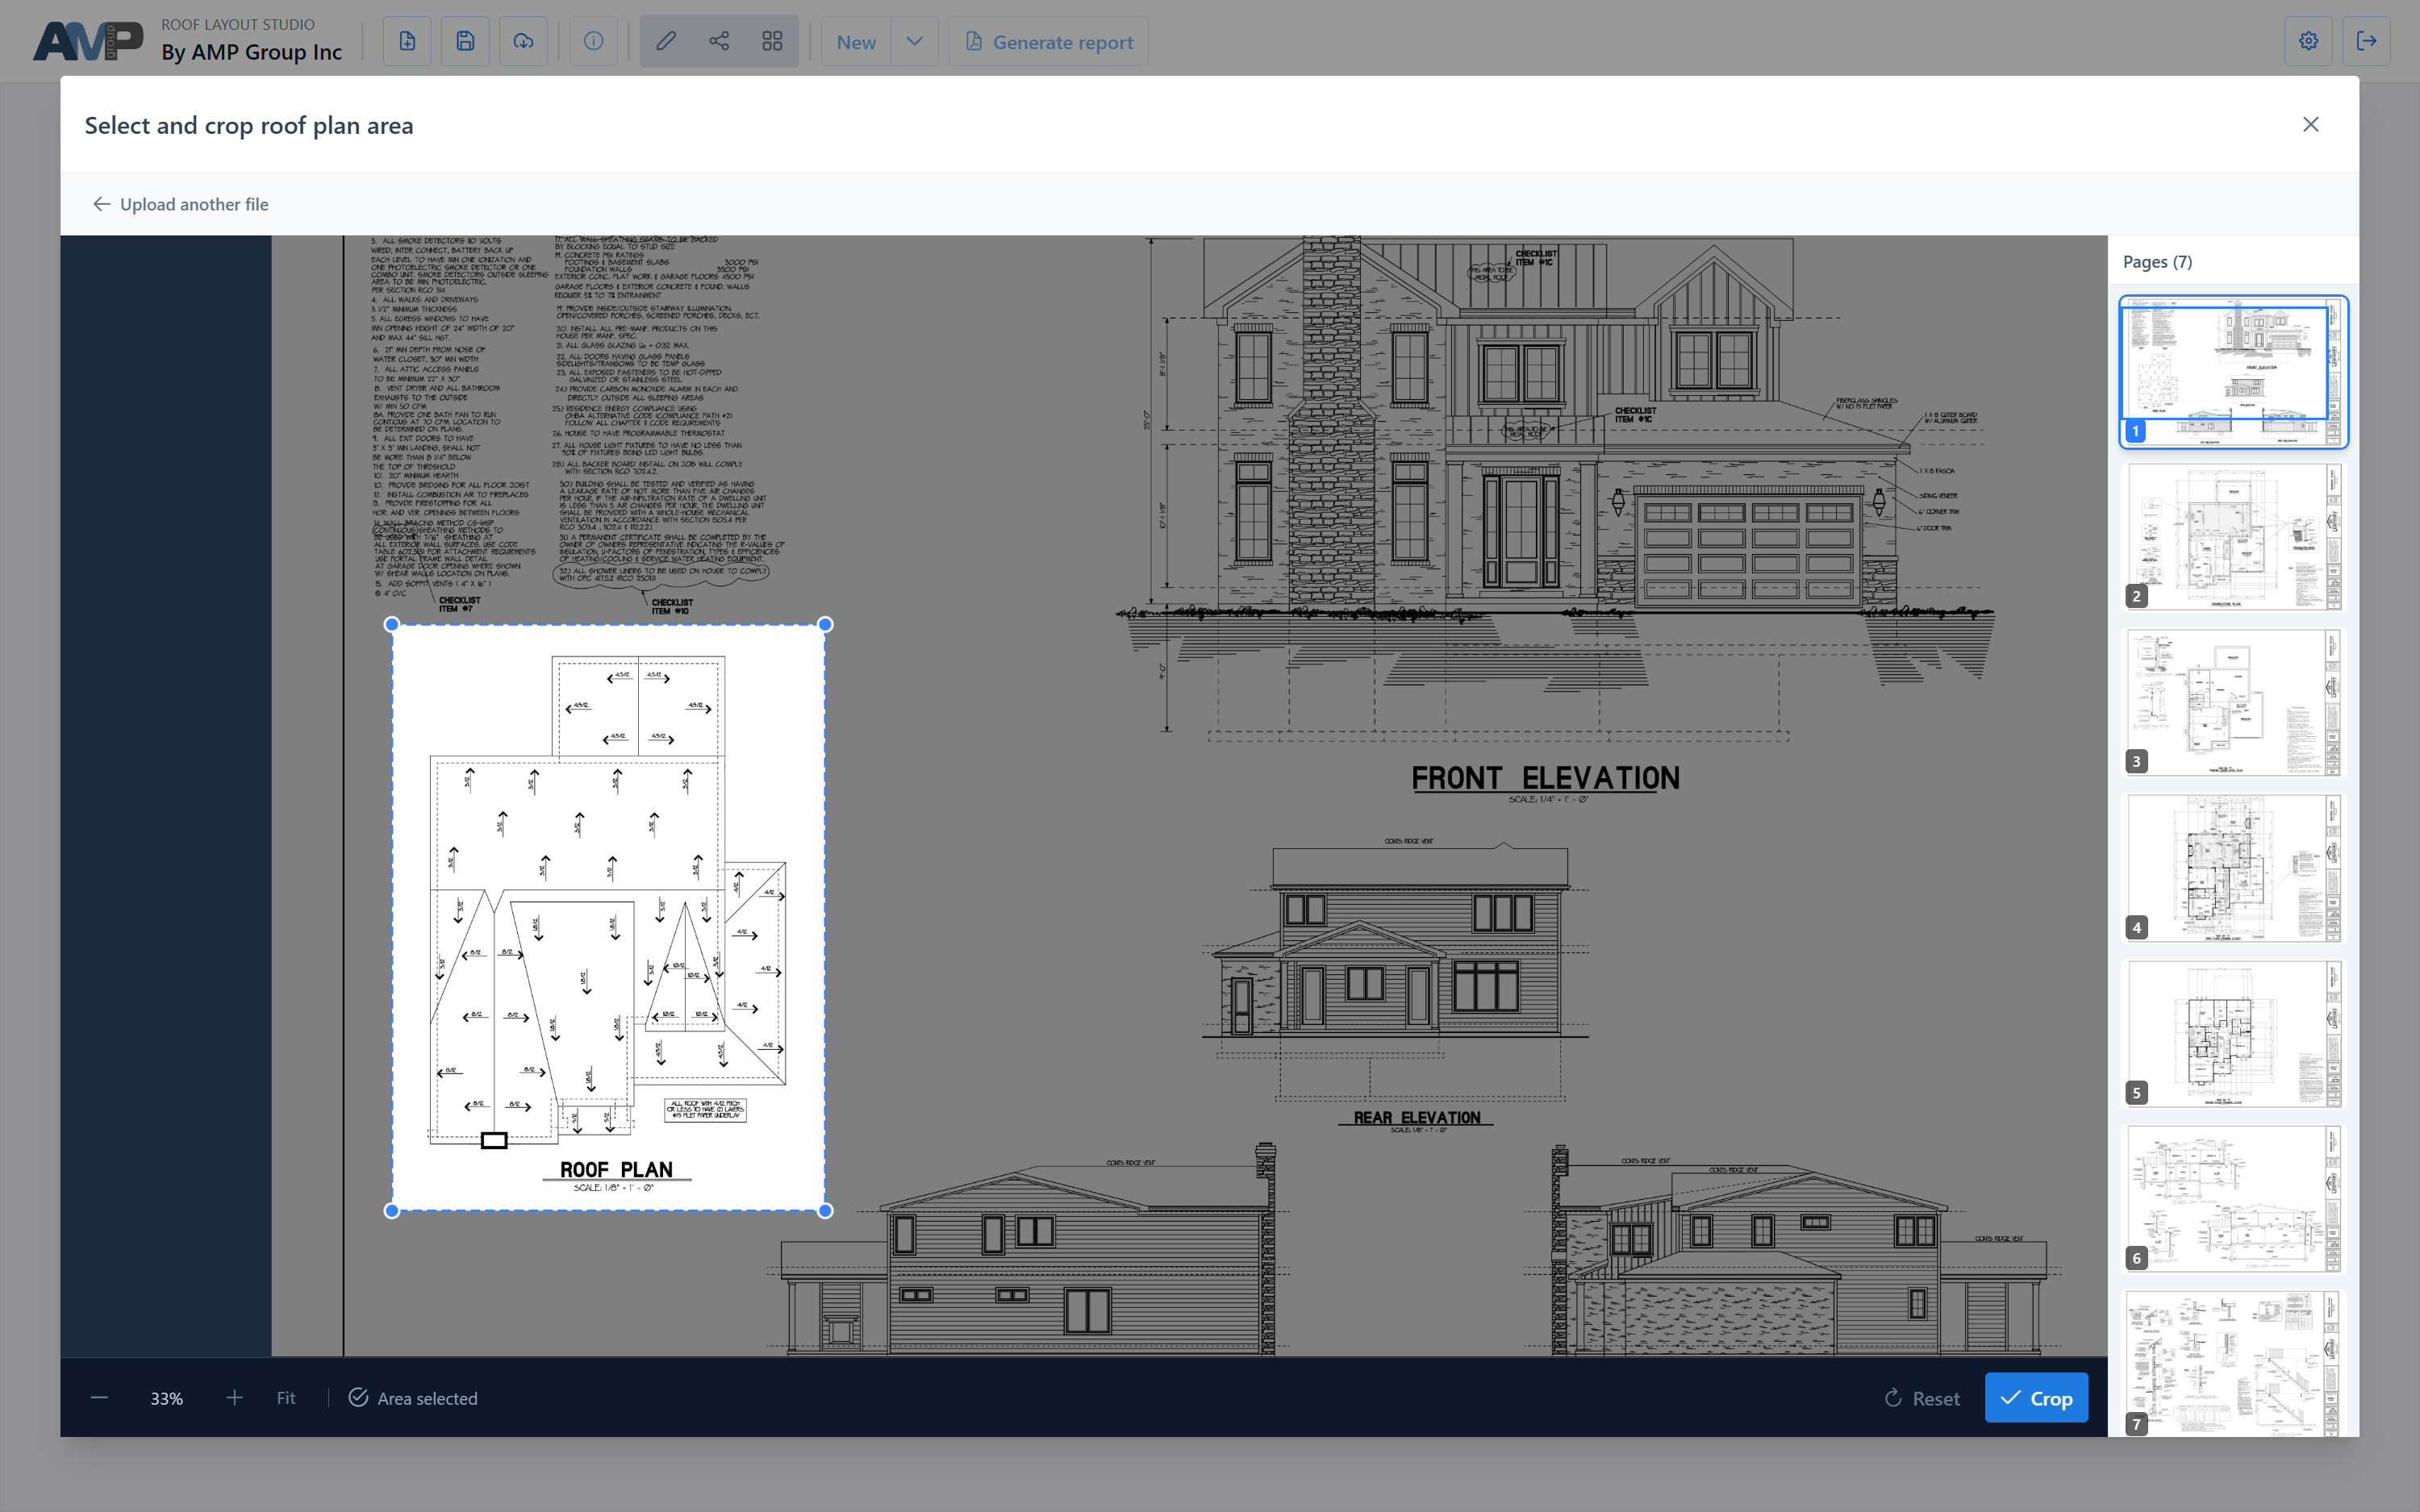
Define the work area
After upload, the wizard opens a crop step where you define which part of the source should become the editor background.
The work area should normally include:
- the plan or roof image you actually want to trace
- the details needed for geometry work
The work area should normally exclude:
- empty page margins
- title blocks
- unrelated drawing content
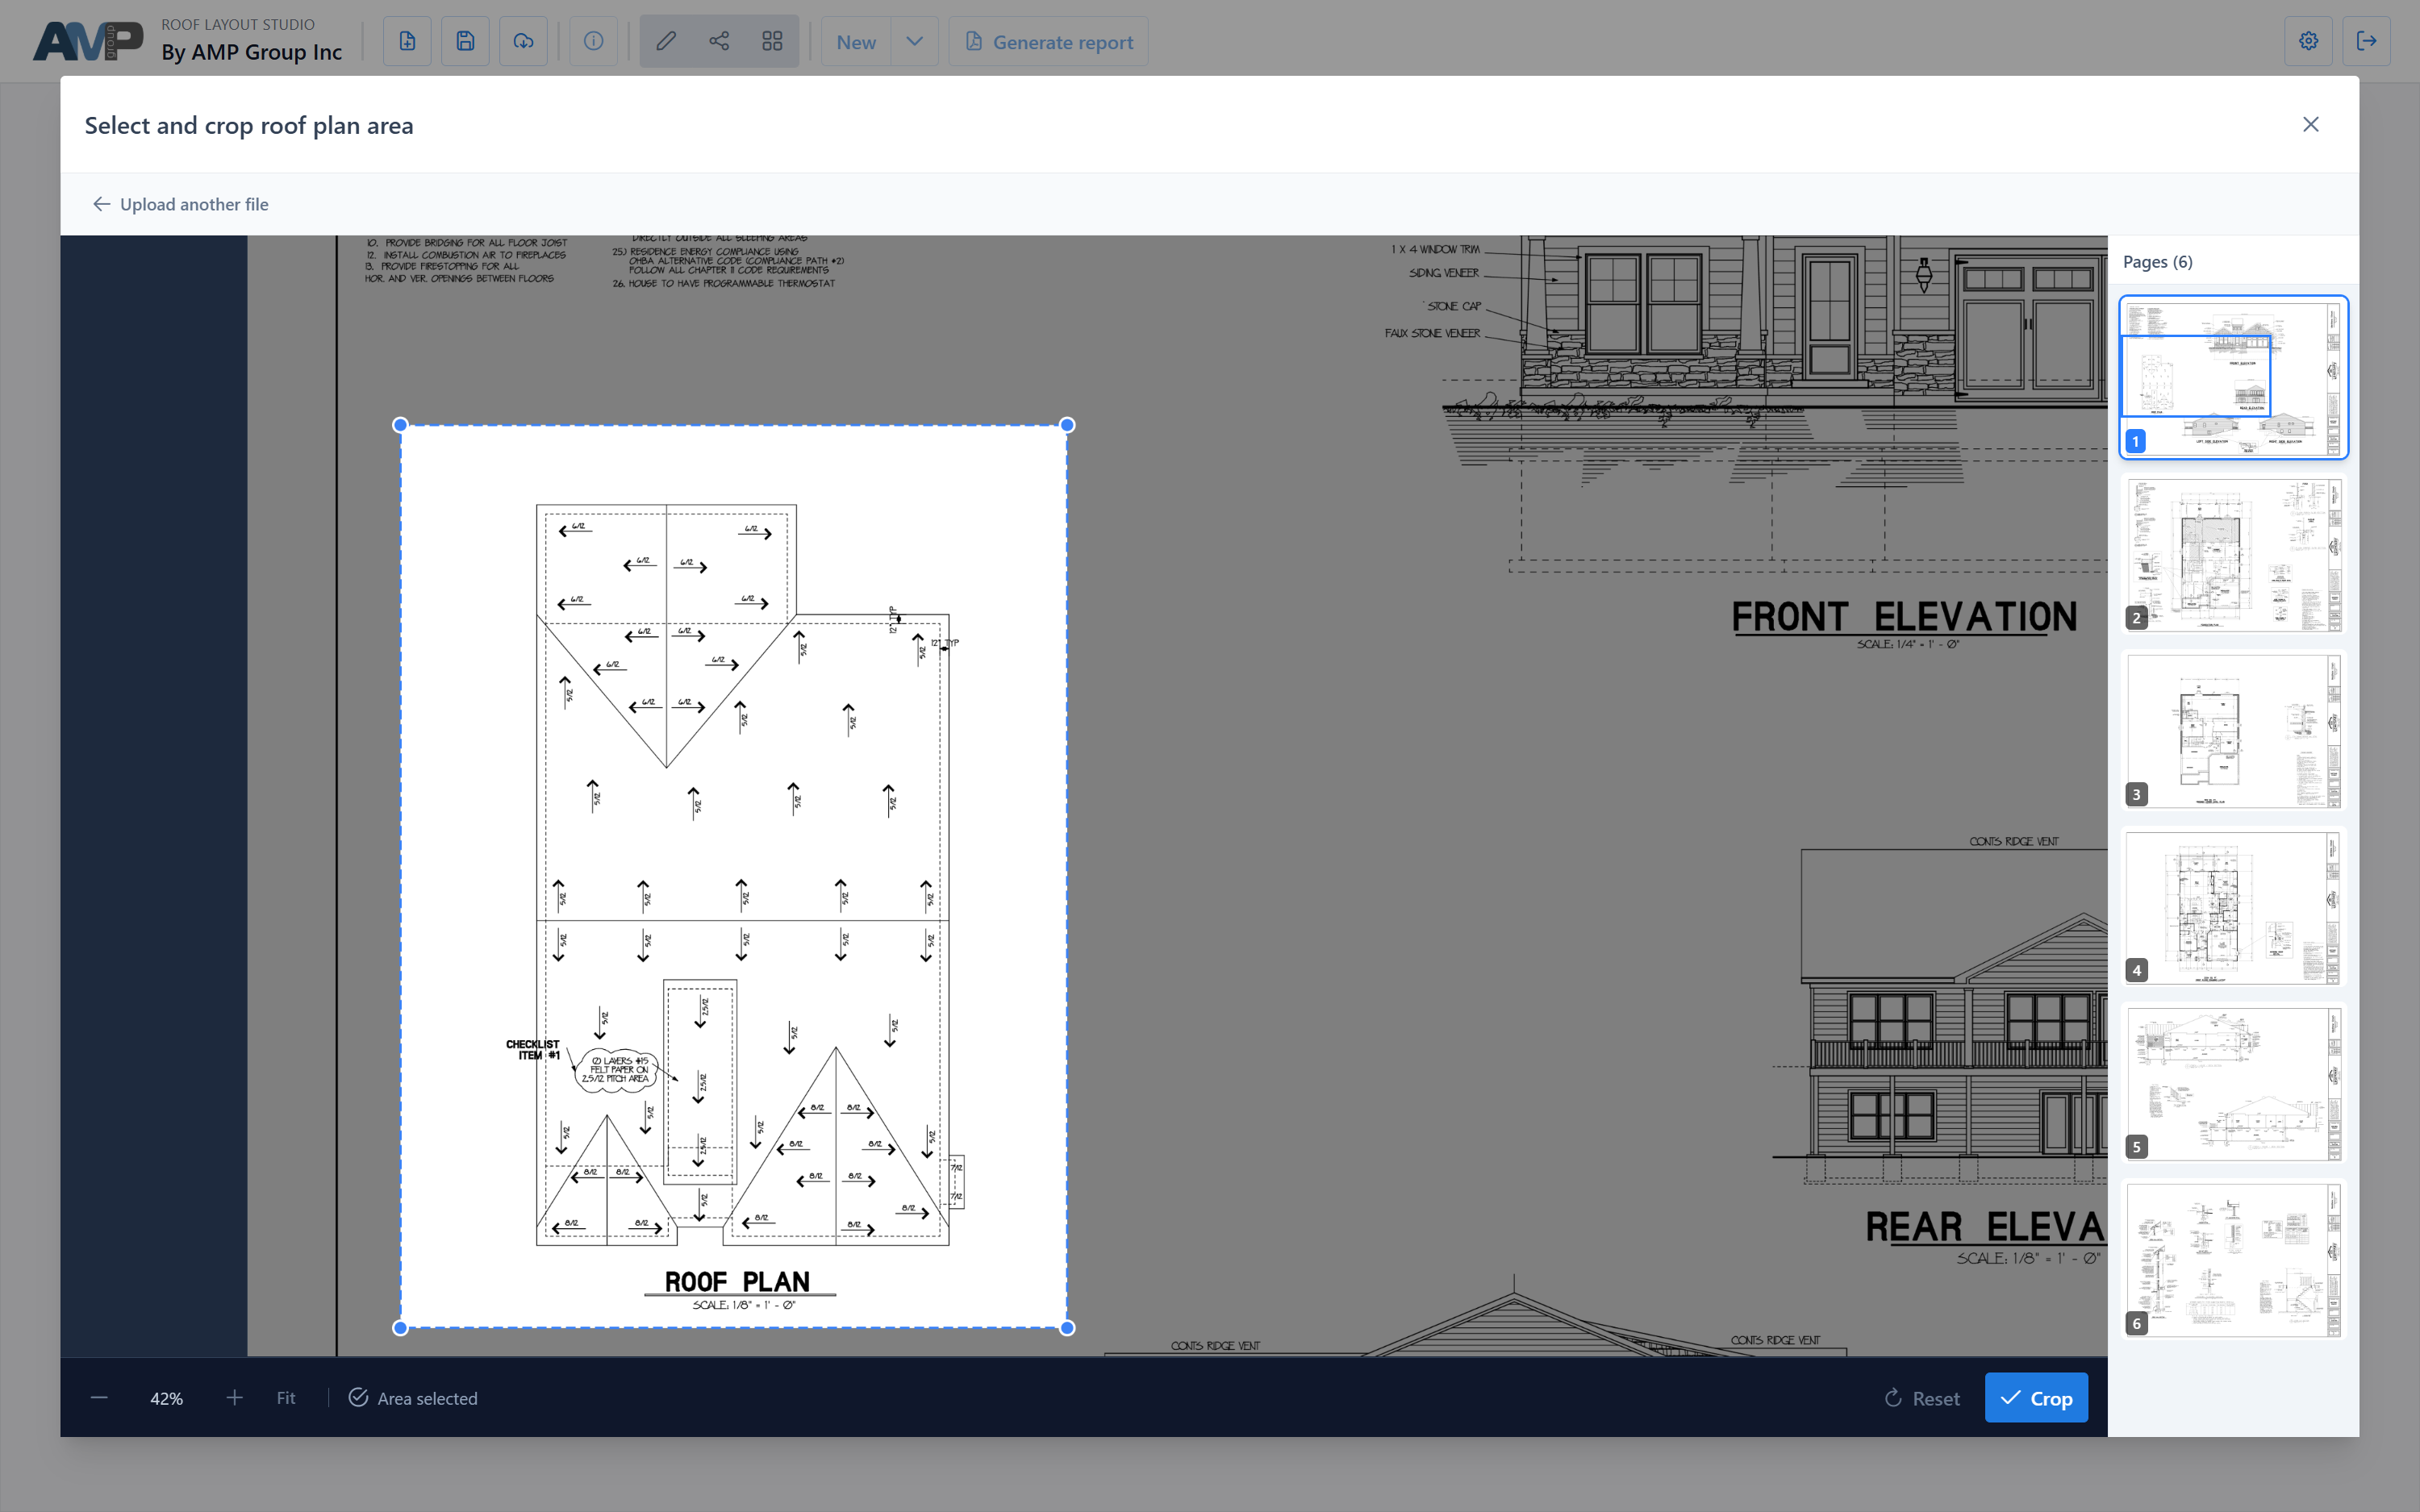
Refine the crop
Adjust the selection so that the final background contains only the useful content for tracing.
Depending on the source, this may be a PDF page view or a single image view. The goal is the same in both cases: keep the working background clean and focused.
Continue to scale setup
After the source file and work area are confirmed, the application opens Set Image Scale.
Scale should be assigned before precise geometry work, because measurements and report values depend on it.
Continue with: Set Scale
Recommendations
- Start with a clean PDF or image whenever possible.
- Keep the crop focused on the content you actually need for tracing.
- Avoid carrying extra borders or page content into the editor background.
- Move on to scale setup before doing detailed geometry edits.